The Perfect Sourdough Sandwich Loaf
- Amelia Madara

- Feb 26
- 3 min read

There’s something special about a beautiful artisan boule… but let’s be honest most of us just need really good sandwich bread.
The kind that slices evenly.
The kind your kids actually eat.
The kind that holds up to egg salad, peanut butter, or a piled-high turkey sandwich without falling apart.
For a long time in my own kitchen, I chased the open crumb and the dramatic ear. But what my family reached for every single day? A soft, sliceable, dependable sandwich loaf.
This loaf is exactly that.
It’s simple.
It’s practical.
And it’s made with the same slow, intentional sourdough process we love just shaped for real life.
If you’re building a home bakery, feeding a busy family, or just trying to get comfortable baking with your starter, this is one of those foundational recipes. The kind you memorize. The kind you bake on Sunday afternoon while the house is quiet. The kind that makes you feel like you’ve got it together, even when everything else feels a little chaotic.
And the best part? It doesn’t have to be complicated.
You don’t need fancy techniques.
You don’t need years of experience.
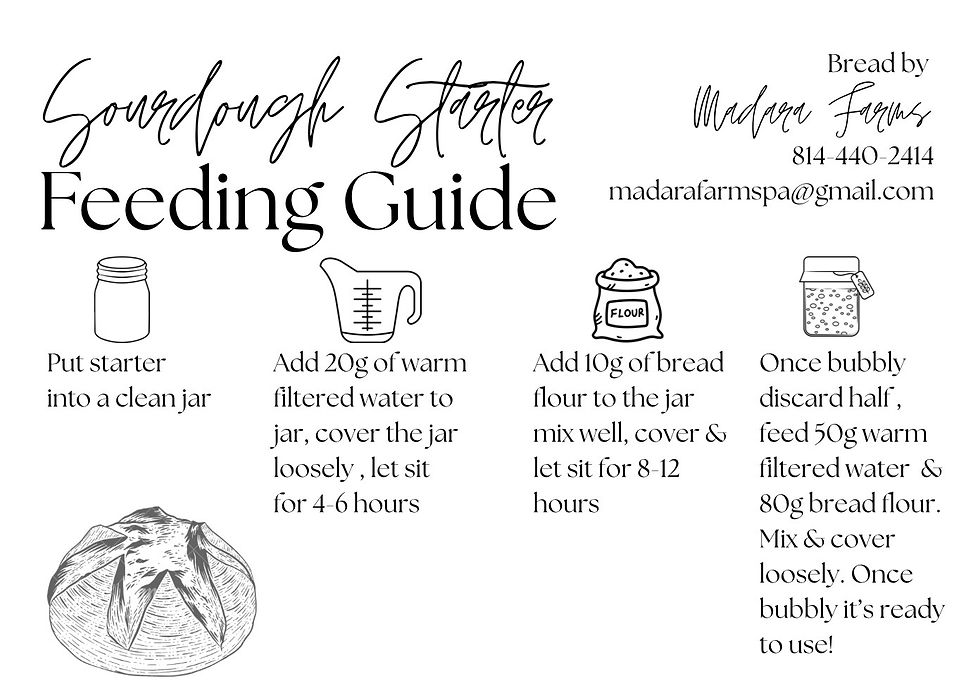
You just need an active starter, a little patience, and the confidence to keep going even if your first few loaves aren’t perfect. If you are new to sourdough and need a starter click here.
Because this isn’t about perfection.
It’s about nourishing your people.
It’s about creating rhythm in your kitchen.
It’s about turning flour, water, and salt into something that becomes part of your everyday story.
Let’s make your new go-to sandwich loaf. 🥖
Simple Sourdough Sandwich Loaf
Soft crumb. Light structure. Perfect for everyday sandwiches.


Ingredients
• 100g active sourdough starter
• 350g warm water (about 85°F)
• 500g bread flour
• 10g salt
• 20g unsalted butter
Instructions
1. Mix the Dough
In a large bowl, whisk together the warm water and active sourdough starter until mostly dissolved.
Add the flour and mix until no dry flour remains. Let the dough rest for 20–30 minutes (this is your autolyse and helps develop gluten gently).
Add the salt and softened butter. Pinch and fold the dough until fully incorporated. It will feel slightly sticky but cohesive.
2. Bulk Fermentation
Cover and let rise at room temperature (around 72–75°F) for 4–6 hours.
During the first 2 hours, perform 3–4 sets of stretch and folds about 30 minutes apart. After that, let the dough rest undisturbed until it has risen about 50%, feels airy, and shows bubbles along the edges.
This dough should feel elastic and smooth by the end of bulk fermentation.
3. Shape
Lightly flour your surface and gently turn out the dough.
Shape into a loose rectangle, then roll tightly into a log, sealing the seam with your fingertips. This tension is what gives you those beautiful sandwich slices.
Place seam-side down into a greased 9x5 loaf pan.
4. Final Proof
Cover and let rise until the dough has domed about 1 inch above the rim of the pan. This usually takes 2–4 hours depending on temperature.
(You can also refrigerate overnight after shaping for a slower ferment. If doing this, allow it to come to room temp and finish rising before baking.)
5. Bake
Preheat oven to 375°F.
Bake for 40–45 minutes, until golden brown and the internal temperature reaches 200–205°F.
If the top browns too quickly, tent loosely with foil during the last 10–15 minutes.
6. Cool
Remove from the pan immediately and cool completely on a wire rack before slicing. I know it’s tempting but cutting too early will make the crumb gummy.
Notes for Success
• Your starter should be active and at peak this is key for a soft rise.
• Strong bread flour makes a noticeable difference in structure.
• For an even softer crust, brush the top with melted butter right after baking.
• This loaf slices beautifully once fully cooled and stores well for 3–4 days.
I hope this recipe becomes a staple in your sourdough recipes.


Enjoy,
Your Friend
Amelia


Comments